

The BEST Organizing Steps to Follow For an Organized Home
My organizing PROCESS has been around for a long time and many of you already know how helpful it is. However I haven’t written a dedicated post about it in years and my newer readers might not know about it at all. I’ll go into a little more depth in this post. These seven organizing steps are a game changer if you are looking to organize your home. They lay out the exact order you need to take to organize any space effectively.
I created the PROCESS acronym to keep you from getting ahead of yourself when organizing. Believe me, it’s so easy to do! By following these steps in the order presented you can avoid the overwhelm and frustration that often comes with organizing projects. If the chaos and clutter in your life is driving you crazy and you don’t know where to start, help is here to save your sanity!
I truly believe organizing is a PROCESS rather than a destination. Just when you think you’ve got a handle on things it’s time to do it all over again. Life happens. Kids outgrow their toys and clothes, your responsibilities and needs change, you have another child, you get married, you change sizes, get a new job, etc. With the right techniques though you can stay on top of these things, you can control your space rather than your space controlling you. Being organized allows you to quickly restore the situation when “life” gets a little chaotic and let’s face it, unless you live in a bubble, it’s bound to happen.
PROCESS is defined as a series of actions used to produce something or reach a goal.
P.R.O.C.E.S.S
That is what we want to do when organizing. Having a series of actions to follow will help you create a clutter free space with a system designed specifically for your needs that is easy to maintain.
Here are the PROCESS organizing steps summarized for you.
PLAN OF ATTACK:
It’s important to plan your project and the purpose for your space. First decide what area you want to tackle next. Look around your home and think about what areas/rooms are causing you stress. What areas immediately make you cringe when you see them? Which area/room has you so overwhelmed you simply close the door and walk away and avoid the space altogether?
Now take this area and ask yourself some important questions:
- Why do I want this space decluttered and organized? There’s not much incentive for getting organized if it’s just something you feel like you are supposed to do. Having a specific purpose for a space or saving yourself time, energy or money are all effective motivators. People will find time for the things they are motivated to do.
- Why is this space currently not working, why is it overwhelming you?
- What in this space is working well? No need to fix what isn’t broken.
- What habits need to change to solve the organizational problems?
- Do I need help with this space?
- What type of budget do I have for this space?
- What kind of timeline can I dedicate to this space. Can you devote a big chunk of time to getting it done or will you need to break the space down into bite size tasks that can be done over several days or weeks?
Don’t forget to take before pictures!
REMOVE EVERYTHING:
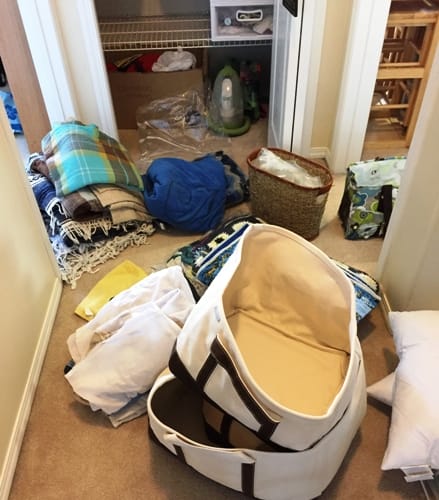
Empty the space completely so you can start from a clean slate. This is much more effective than just shuffling everything around I promise. Removing items from where they have previously been stored will give you a fresh perspective on the space you want organized. It will enable you to re-evaluate how you want the space to look. You can’t do this when it is cluttered up with stuff. It is also tough to rearrange furniture when the clutter still exists in the space. Get it out!
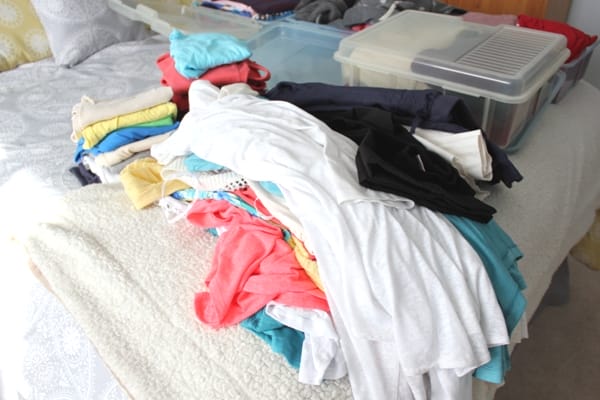
If you are working on a bedroom closet, pile your clothes up on the bed. If you are working on a drawer, dump it out on the floor or counter. You get the idea. Emptying a space makes the next step so much easier to do.
ORGANIZE INTO PILES:
Once you’ve removed everything from a space, it’s time to organize it. This step involves sorting and purging.
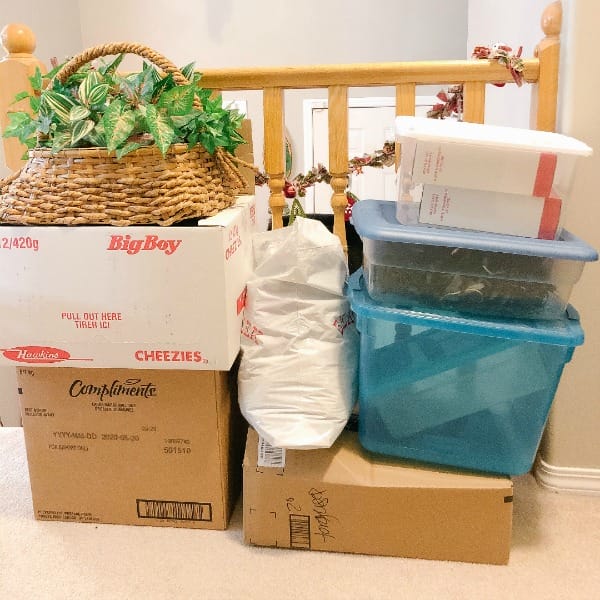
Grab yourself five boxes or bags and label them donate/toss/sell/keep/relocate. Sort “like with like” so all similar items are together. You’ll now be able to clearly see what you own an over abundance of. One lonely little box of envelopes doesn’t look like much but when you match it up with the other 50 boxes you have well all of a sudden it is clear there is a problem.

Now it’s time to purge! This step is not for the faint of heart and is probably the most difficult for many. However it is also the most essential for truly parting ways with the clutter and chaos in your home. You may be tempted to skip it and just toss all your belongings into pretty bins and call it a day. And while that may look organized, it definitely will not solve your chaos problem. Now is the time to purge excess and everything you no longer love and use.
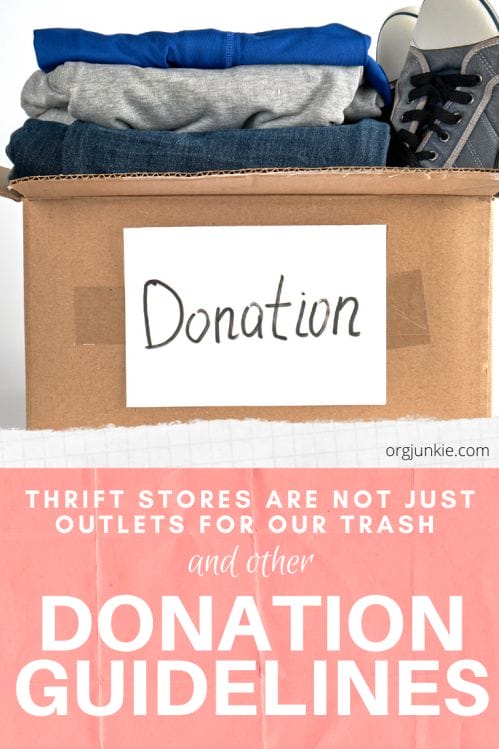
Also toss items you’ve been hanging onto out of guilt or obligation. Let someone else love it by gifting it to a thrift store. You can also try selling your items but be sure to add a deadline (attach a post-it note with the date to remind you) because it’s often another thing to procrastinate.
In this step you also need to be mindful of how much your space can hold. My advice is to PURGE UNTIL IT FITS. Only bring back into your space what you truly want to keep and have the room to store. Remember, the more you purge the less you have to find a home for. Don’t bring it back in to think about later. Deal with it before it goes back into the space. Make a decision and move on. Don’t second guess yourself, it will only slow down the process. Stay true to the purpose of your space!!
CONTAINERIZE AND SYSTEMIZE:
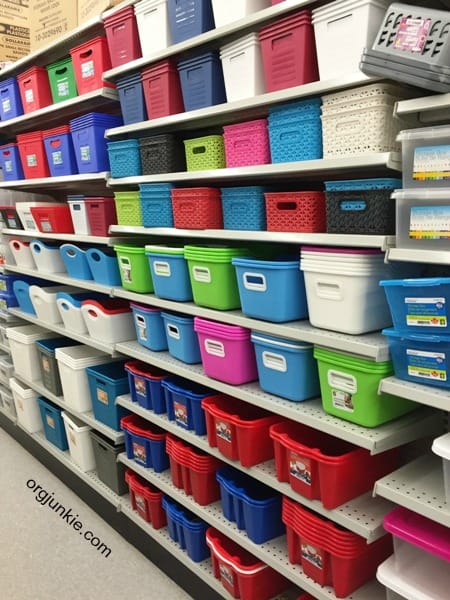
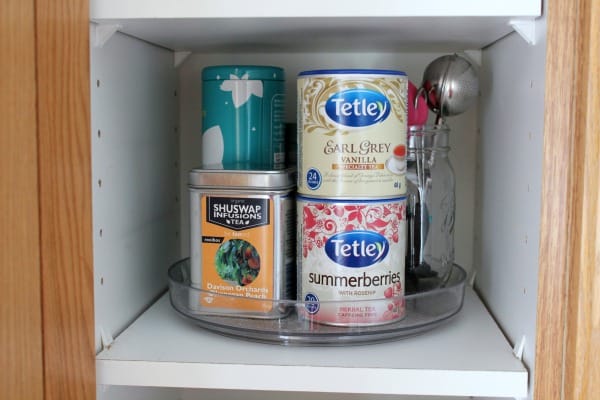
Now and only now is it time for the fun! You’ve purged your items and you are ready to put it all away again. This is the time to utilize some storage solutions like bins or baskets and wire shelves and lazy susans to maximize your space. My blog is full of these type of solutions to help you. By using containers to keep like sorted with like in your spaces, you are establishing much needed limits and boundaries for your stuff. And by that I mean, once the bin is full you’ll know when it’s time to purge next. It keeps your stuff in check and contained.
Don’t feel like you have to spend a lot of money on storage solutions either. Dollar stores are gold mines for storage solutions at a fraction of the price you’d buy them elsewhere. Measure your space before going to the store though so you know what sizes to get.
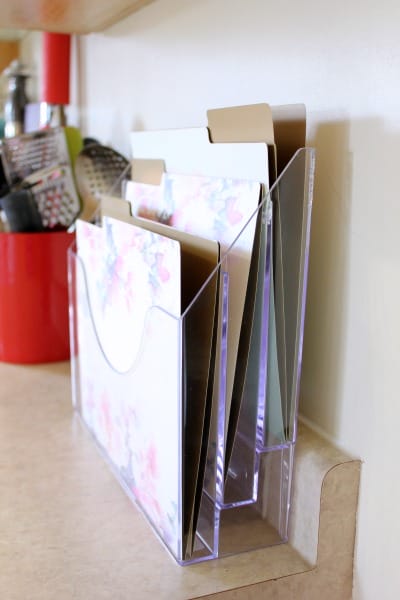
In this step, you’ll also want to set up systems to help you manage your things on a daily basis. Perhaps that means introducing habits and routines to your day or putting action steps in place to help you keep track of everything. For instance, do you have a command center in place to help you manage all the paper that comes into your home? How about for managing hand-me down clothes? Look for solutions that specifically work for your family. Get creative! For example, if you need to use a linen closet for a pantry, do it. It’s your house, make it work for YOU.
EVALUATE SYSTEMS:
After you’ve used your newly organized space for a couple of weeks, it’s time to evaluate how it’s working for you. Are you using it the way you’d hoped to? Is it annoying or frustrating you? Is it more complicated than it needs to be? Are you able to keep up with the system in place? A good system should be easy to maintain and work for your family. If it’s not, figure out why.
SOLVE/SIMPLIFY ANY ISSUES:
It doesn’t mean you’ve failed if a storage solution or system didn’t work for you the first time. You may just need to tweak the solutions and systems you’ve implemented or adjust your expectations.
Don’t organize a space for the person you wish you were, organize a space for the person you are right now.
Be honest with yourself and adjust accordingly. Your systems should help you work smarter, not harder. You may need to go back and follow these organizing steps again. Often when we go back for a second pass we are ready to let go of even more clutter.
SMILE:
Guess what? You did it! Relax and enjoy your hard work! Take your after pictures and compare them to the before. You’ll be amazed at how far you come and be motivated to continue on to other spaces in your home. Don’t skip this step. You worked hard so it’s important to take a moment to really be proud of yourself and all that you’ve accomplished.
To help remind you of these organizing steps, here is a free printable bookmark to help keep you on track. It’s meant to be printed on one side and then flip the paper and print on the opposite side.

So there you go. Where you aware that there was a specific order to organizing? Please let me know if you have any questions or are looking for specific ideas for your space. Chances are good I’ve already done a post about it and I can help you find it. Or if I haven’t then I’ll be able to add it to my blog posts to-do list. I’m always looking for post ideas!
I hope you find these organizing steps helpful. Happy organizing y’all!